
Game Engine Tutorial, Build Your Own Game Engine, Game Engine Development Guide
Creating a game engine from scratch is a challenging yet rewarding experience. Whether you’re an aspiring game developer, a computer science student, or a hobbyist, building your own engine allows you to understand the inner workings of games and gives you the flexibility to create unique experiences. This comprehensive guide will walk you through the essential steps to start building your very own game engine, covering everything from core components to hands-on implementation.
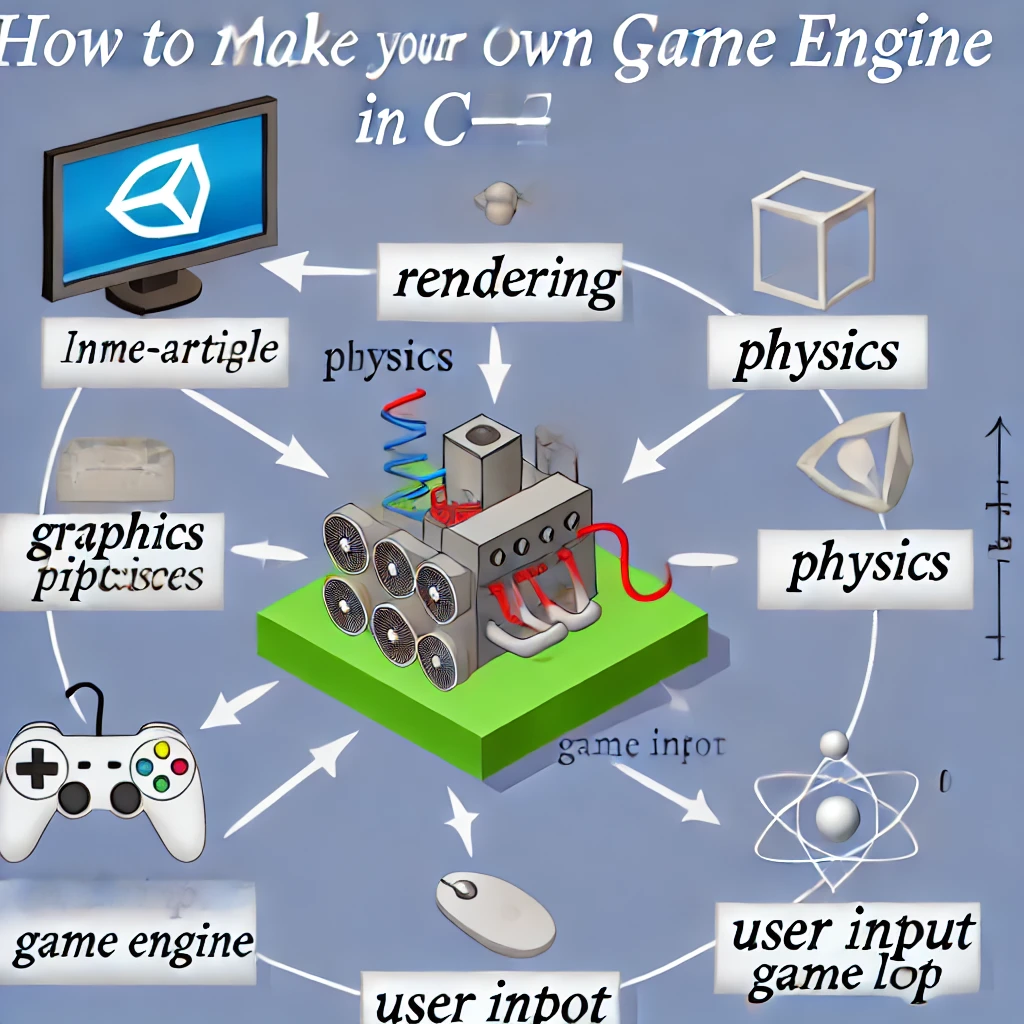
What is a Game Engine?
A game engine is a software framework designed to simplify the creation of video games. It provides developers with the tools and reusable components necessary to design, render, simulate physics, manage assets, and handle input efficiently. Game engines allow for streamlined game development by handling the complex tasks associated with graphics rendering, physics, audio, and more, enabling developers to focus on gameplay and storytelling. Building a game engine from scratch means you create every component tailored to your game’s unique needs, giving you complete control.
Key Functions of a Game Engine
A game engine performs several key functions:
- Asset Management: Manages game assets such as textures, sounds, 3D models, and animations, making them easily accessible during gameplay.
- Rendering Graphics: Converts the virtual 3D world into a 2D image that players see on their screens, using techniques like lighting, shading, and post-processing.
- Game Logic: Controls the rules of the game, such as how characters interact with each other and with the environment, using scripting systems.
- Physics Simulation: Manages how objects move and collide with each other in a realistic manner.
- Animation System: Deals with the movement of characters or objects, ensuring smooth transitions between different states of motion.
These functions make game engines indispensable for game developers as they reduce repetitive tasks and provide essential building blocks for creating games.
Why Build a Game Engine?
Before diving into the technical aspects, it’s important to understand why you might want to build a game engine rather than using an existing one like Unity or Unreal Engine. The most common reasons include:
- In-Depth Learning Experience: Building a game engine helps you gain in-depth knowledge of programming, graphics rendering, physics simulations, memory management, and more. This understanding is invaluable for mastering game development.
- Full Customizability: You can create a specialized engine tailored to the specific needs of your game, giving you the flexibility that general-purpose engines can’t provide.
- Performance Optimization: A custom engine allows you to optimize every aspect of your game, enabling it to run as efficiently as possible on your target platform.
- Complete Control: Having full control over your game engine means that you can modify or extend any part of the engine—whether it’s the physics system, rendering techniques, or memory handling.
- Learning New Skills: Building your own engine helps you learn valuable skills that are highly applicable in game development careers. Understanding the intricacies of graphics APIs, memory management, and hardware optimization makes you a more versatile developer.
If these benefits excite you, let’s dive into the step-by-step process of building your own game engine!
Step 1: Choose Your Programming Language
The first step is to decide what programming language you’ll use to build your game engine. This decision will be influenced by your level of programming experience, the type of games you plan to create, and the platforms you want to support.
- C++: A popular choice for game engines due to its performance and fine-grained control over hardware. C++ powers many professional engines like Unreal.
- C#: Easier to learn compared to C++ and commonly used in Unity. C# is a solid option for its balance of performance and ease of use.
- Python: While not as fast as C++ or C#, Python is great for beginners due to its simplicity and readability. It’s ideal for prototyping or creating simpler engines.
- Java: A versatile language capable of building basic 2D or 3D engines, although it’s not as widely used in professional game development.
Recommendation: If you’re new to game engine development, starting with C++ or C# is ideal. C++ offers high performance and control, while C# provides a faster development cycle and simplicity.
Considerations When Choosing a Language
- Platform Support: Ensure the language supports all the platforms you want to target (e.g., PC, mobile, console).
- Performance: C++ offers the highest level of control and performance, crucial for handling graphics and physics calculations.
- Learning Curve: If you’re relatively new to programming, C# or Python can be better starting points.
- Community and Resources: A language with a strong community and a wealth of learning resources will make your development journey smoother.
Step 2: Understand the Core Components of a Game Engine
To successfully build a game engine, you need to understand its fundamental components. These serve as the building blocks that make a game engine functional and interactive:
- Rendering Engine: Responsible for drawing 2D or 3D graphics. The rendering engine converts game objects into visuals that players see on the screen.
- Physics Engine: Simulates physical behaviors like gravity, collisions, and object dynamics to make the game world feel realistic.
- Audio Engine: Manages sound effects, background music, and all audio-related elements of the game.
- Input System: Handles player input, including keyboard, mouse, and game controllers.
- Scripting System: Allows developers to define game logic, AI behaviors, and interactions using scripting languages like Lua.
- Memory Management: Ensures efficient allocation and deallocation of memory to prevent performance bottlenecks and memory leaks.
- Networking (Optional): Adds multiplayer capabilities by handling communication between players over a network.
Rendering Engine
The rendering engine is the backbone of any game engine, turning abstract data into beautiful visuals. For 2D games, the rendering engine will deal with drawing sprites and handling transparency, while for 3D games, it will deal with more advanced topics like lighting, shading, and occlusion culling.
- Graphics APIs: APIs like OpenGL, DirectX, Vulkan, and Metal help the rendering engine communicate with the GPU.
- Shaders: Shaders are small programs that run on the GPU and define how to draw each pixel. Vertex shaders and fragment shaders are essential for rendering 3D graphics.
Physics Engine
A physics engine adds realism by simulating physical interactions. For example, it handles how objects fall, how they bounce off each other, and how forces affect their movements. You can choose to write a basic physics engine yourself or integrate a library like Box2D or Bullet.
- Collision Detection and Response: Crucial for any interactive game, collision detection determines when two objects are touching or overlapping, while collision response dictates what happens as a result.
- Rigid Body Dynamics: Implements realistic behavior for solid objects.
- Soft Body Dynamics (optional): If your game involves non-rigid bodies like jelly or cloth, a more advanced soft body simulation might be required.
Audio Engine
The audio engine makes your game more immersive by adding sound effects and background music.
- 3D Sound: Spatial audio allows players to hear sounds from different directions, adding depth to the game.
- Sound Effects Management: Handle looping sounds, triggered effects, and audio mixing to keep sounds from overlapping too much.
- Libraries: Libraries like OpenAL, FMOD, or Wwise are commonly used for audio in games.
Input System
Handling user input is fundamental. Input systems manage various devices, including keyboards, mice, controllers, and touch screens.
- Polling vs. Event-Driven Input: Decide whether to constantly check the state of input devices (polling) or respond to specific events like key presses (event-driven).
- Multiple Device Support: Ensure that your input system is flexible enough to handle a variety of devices and input methods.
Memory Management
Memory management is crucial, especially when dealing with large assets like 3D models and textures.
- Garbage Collection: Unlike managed environments like C#, in C++ you need to manage memory allocation and deallocation manually.
- Resource Pools: Use resource pools for efficient reuse of objects, which can be useful for particle systems and dynamic game objects.
Networking (Optional)
Adding networking capabilities allows for multiplayer games. Implementing networking involves handling data packets, ensuring synchronization, and managing latency.
- Client-Server Model: One machine acts as the server, managing game state, while others act as clients.
- Peer-to-Peer: All machines share the game state, suitable for smaller, less competitive games.
- Lag Compensation: Techniques like interpolation and prediction help to mitigate the effects of network latency, ensuring smooth gameplay for all players.
Step 3: Set Up Your Development Environment
Next, you’ll need to set up a suitable development environment based on your chosen programming language. Here’s what you need:
- For C++: Use an IDE like Visual Studio or CLion and install graphics libraries such as OpenGL or DirectX for rendering. Consider using SDL or SFML for handling input and audio.
- For C#: Install Visual Studio and leverage frameworks like MonoGame or XNA to get started.
- For Python: Set up PyCharm or VS Code and use Pygame to handle graphics, input, and game loops.
Version Control
Installing version control software like Git is highly recommended to keep track of your progress, manage code changes, and collaborate effectively. Platforms like GitHub, GitLab, or Bitbucket can be used for remote repository hosting.
Tools and Libraries
- Game Math Libraries: Libraries like GLM (OpenGL Mathematics) are helpful for handling mathematical operations required in 3D graphics, such as vectors and matrices.
- Profiling Tools: Tools like gDEBugger or Valgrind help you identify performance bottlenecks and memory leaks.
Step 4: Create the Rendering Engine
The rendering engine is the heart of your game engine—it’s what brings your game world to life visually. Here’s how to start building it:
- Choose a Graphics API: The graphics API allows your engine to communicate with the GPU (Graphics Processing Unit).
- OpenGL: Cross-platform and widely used, making it a great option if you want your engine to be versatile.
- DirectX: Windows-only API known for its performance and close integration with the Windows OS.
- Vulkan: A modern API that provides lower-level access to the GPU, offering better performance but requiring more complex code.
- Create a Game Window: Use a library like SDL to create a window where your game will be displayed. SDL simplifies window management and input handling across platforms.
- Rendering Loop: Establish a rendering loop that runs continuously, handling input, updating game states, and drawing objects to the screen each frame.
For a basic 2D engine, start by drawing simple shapes, while for a 3D engine, you’ll need to delve into 3D models, textures, shaders, and lighting.
Implementing a Rendering Loop
The rendering loop is the core of your game engine’s runtime. Typically, the loop will:
- Handle User Input: Capture input events such as key presses or mouse movements.
- Update Game Logic: Update the positions of objects, handle physics calculations, and run AI routines.
- Draw Everything to the Screen: Clear the screen, draw each object, and then present the new frame to the user.
Here is a simplified C++ example:
Step 5: Implement the Physics Engine
The physics engine determines how objects move and interact in your game world. A solid understanding of physics is required to build realistic interactions:
- Collision Detection: Implement collision detection to determine when objects in the game space collide. This could range from simple 2D collision detection (e.g., bounding box) to more complex 3D collision detection.
- Use Physics Libraries: You don’t have to build everything from scratch. Libraries like Box2D (for 2D physics) or Bullet Physics (for 3D physics) can be integrated into your engine, saving time and effort.
Types of Physics Simulation
- Rigid Body Dynamics: These are used to simulate solid objects that do not deform. It’s the foundation for most objects in games.
- Soft Body Dynamics: Soft bodies, such as jelly or rubber, require more complex physics calculations to simulate deformations.
- Particle Systems: Used for effects like smoke, fire, or explosions, particle systems are computationally lightweight representations of large numbers of tiny entities.
Step 6: Add Audio Capabilities
Audio is a critical aspect of the gaming experience. Integrate an audio engine to add sound effects and music to your games:
- SDL_Mixer: An extension of SDL that handles basic audio needs.
- FMOD or OpenAL: These are more advanced audio libraries that allow for greater control and higher-quality sound management.
Key Audio Features to Implement
- 3D Positional Audio: Allows players to experience sound as if it were coming from specific locations in the game world, adding a layer of immersion.
- Mixing: The ability to play multiple sounds at once without clipping or distortion.
- Audio Effects: Add effects like echo, reverb, or pitch modulation to enhance the auditory experience.
Step 7: Create a Scripting System
Scripting systems allow game designers to add behaviors without modifying the core engine code. This flexibility can significantly speed up development.
- Integrate Lua: Lua is one of the most popular scripting languages for game engines due to its lightweight nature and ease of integration.
- Event System: Build an event-driven system that allows the game engine to trigger events based on player actions (e.g., character movement or collisions).
Benefits of Scripting Systems
- Fast Prototyping: Designers can quickly iterate on gameplay mechanics without recompiling the engine.
- Modding Support: If your game engine supports scripting, players can modify the game, extending its longevity and community engagement.
- Separation of Concerns: By keeping game logic separate from engine code, you can maintain a cleaner, more organized codebase.
Step 8: Optimize and Test Your Engine
Once you have the core components, it’s time to optimize and rigorously test your engine. Performance is key to delivering a smooth gaming experience.
- Memory Management: Make sure memory allocation and deallocation are handled efficiently to prevent memory leaks, which can cause crashes.
- Maintain a High Frame Rate: Aim for a stable frame rate (typically 60 FPS) to ensure a smooth experience for players.
- Stress Testing: Test your engine under different conditions, such as high object counts or complex physics simulations, to identify bottlenecks and optimization opportunities.
- Profiling Tools: Use tools like Valgrind or gDEBugger to identify performance bottlenecks and optimize CPU and GPU usage.
Optimization Techniques
- Level of Detail (LOD): Reduce the complexity of distant objects to save on processing power.
- Culling: Techniques like frustum culling and occlusion culling help the engine avoid rendering objects that are not visible to the player.
- Multithreading: Use multiple CPU threads to handle different tasks in parallel, such as physics calculations and rendering.
Adding Networking Capabilities (Optional)
If you want to support multiplayer games, you will need to add networking capabilities to your engine. This involves designing systems for:
- Client-Server Communication: Establish protocols for communication between the game server and clients.
- Synchronization: Ensure that player actions are synchronized across different instances of the game to create a cohesive multiplayer experience.
- Lag Compensation: Implement strategies to mitigate the effects of network lag, such as prediction algorithms and interpolation.
For networking, you can use libraries like ENet or RakNet, which are designed to simplify real-time network communication.
Challenges in Networking
- Latency Management: Reducing latency is crucial for a smooth multiplayer experience. Techniques like dead reckoning can help predict player movements and compensate for lag.
- Cheat Prevention: When adding networking, ensure your engine includes basic cheat detection mechanisms, like validating client data and preventing unauthorized actions.
Step 9: Building a Game Using Your Engine
Now that your engine is up and running, it’s time to put it to the test by building a simple game. Start with a simple project to validate each system of your engine:
- 2D Game: Create a basic platformer game where you can test rendering, physics, and audio.
- 3D Game: If you’ve built a 3D engine, try developing a simple 3D maze or a basic third-person game.
Testing Your Game
- User Feedback: Get feedback from other players or developers to understand how well your engine supports the gameplay.
- Debugging Tools: Integrate debugging tools that help you monitor object states, memory usage, and frame rates during gameplay.
- Iteration: Iteratively improve your game and the underlying engine based on the feedback and performance metrics.
This process will allow you to identify bugs, optimize performance, and expand features in your engine.
Frequently Asked Questions (FAQs)
Q1: I’m new to programming. Can I still build a game engine?
Absolutely! Start by learning programming basics, particularly in C++ or C#. Begin with small projects before diving into building a complete game engine.
Q2: How long does it take to build a game engine?
The time required depends on your experience and the complexity of the engine. A basic 2D engine could take a few months, while a more advanced 3D engine could take a year or longer.
Q3: Should I use existing libraries or build everything from scratch?
Using existing libraries (e.g., for physics or audio) is a great way to save time and focus on building the core components of your engine.
Q4: Can I use my engine for commercial games?
Yes, once your engine is stable, you can use it to develop and release your own commercial games.
Q5: What is the most challenging part of building a game engine from scratch?
The most challenging part is often the rendering engine and physics system, as they require an in-depth understanding of graphics APIs and mathematics.
Q6: How do I keep my game engine optimized for different platforms?
When building for multiple platforms, consider using cross-platform libraries like SDL or OpenGL. Focus on platform-specific optimization by testing on each target platform.
Q7: Can I add VR support to my game engine?
Yes, but adding VR support requires a deep understanding of rendering and performance optimization. You’ll also need to integrate VR SDKs like OpenXR or Oculus SDK to handle VR hardware.
Additional Resources
- Books: Game Engine Architecture by Jason Gregory, Real-Time Rendering by Tomas Akenine-Möller
- Online Courses: Check out courses on platforms like Udemy, Coursera, or Pluralsight that focus on game engine development.
- Communities: Join game development communities like Gamedev.net, r/gamedev on Reddit, or Unity and Unreal forums to learn from others and get support.
Call to Action
If you enjoyed this guide on how to make a game engine from scratch, share it with others who are also interested in game development. Leave a comment below with your questions or share your experiences in building your own engine!
3 thoughts on “Build Your Own Game Engine (From Scratch) – Full Step-by-Step Guide [Free]”